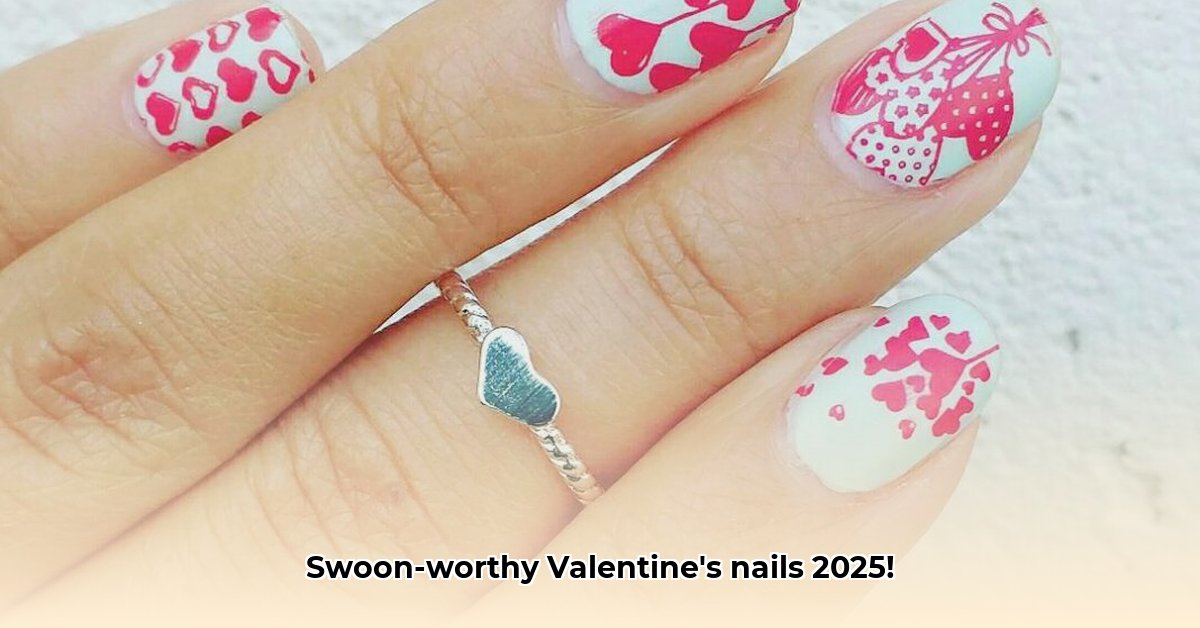
Fall in Love with These Stunning Nail Art Ideas
Get ready to sweep your Valentine off their feet (and show off your amazing nails!) with these Pinterest-worthy Valentine's Day nail designs. From classic romantic hues to unexpectedly chic styles, we've gathered the hottest trends of 2025 to inspire your next manicure. Whether you're a nail art novice or a seasoned pro, there's a design here perfect for you.
Glittery Heart Frenzy: This super easy design is perfect for beginners. Simply apply a base coat, your favorite red polish, add tiny heart-shaped studs (or use a fine brush to paint them!), and finish with a generous dose of glitter top coat! Difficulty: Easy. Key Products/Techniques: Red polish, glitter top coat, heart studs or fine brush. (Did you know that using a fine brush for intricate details can actually elevate any simple design?)
Subtle Red Ombré: Create a dreamy, romantic look with a smooth blend of red and pink shades. Use a makeup sponge for a seamless gradient effect – it's easier than you think! Difficulty: Medium. Key Products/Techniques: Red and pink polishes, makeup sponge. (For a perfect ombre, try applying thin layers and blending quickly before the polish dries).
Romantic Floral Accents: Delicate floral accents add a touch of springtime romance to your Valentine's Day mani. Use pastel shades for a softer look or vibrant colors for a bolder statement. Difficulty: Medium. Key Products/Techniques: Pastel or vibrant polishes, fine detail nail art brush, flower decals (optional). (Delicate floral designs can be perfected using a steady hand and thin, detailed brushstrokes).
Intricate Heart Lace: This design requires a bit more skill but the result is breathtaking. Use white polish and a fine brush to create intricate heart lace patterns. Difficulty: Hard. Key Products/Techniques: White polish, fine detail brush, patience! (Practice your fine lines on scrap paper before attempting this elaborate design.)
Color-Changing Valentine Hearts: This fun design uses color-changing polish to create a dynamic and playful look. Use a heart-shaped stencil (or freehand!) for precision. Difficulty: Hard. Key Products/Techniques: Color-changing polish, heart stencil or steady hand, patience!. (Experiment with different base colors to see how the color-changing polish reacts for a truly unique look.)
Modern Matte Magic: This year, matte polishes are making a comeback with a modern twist. Try a deep burgundy or rich chocolate brown for a sophisticated Valentine's Day look. You can add a subtle touch of shimmer with a fine glitter in select areas for some added glamour!. Difficulty: Easy. Key Products/Techniques: Matte polishes (burgundy, chocolate brown, etc.), fine glitter (optional). (A matte top coat is key to getting that perfect velvety finish.)
Negative Space Hearts: This minimalist design is surprisingly chic. Simply create heart outlines on your nails, leaving the interior negative space. You can fill the surrounding area with a solid color or another contrasting color. Difficulty: Easy to Medium. Key Products/Techniques: Base coat, contrasting polish, striping tape (optional). (Fine detail requires a steady hand – don’t rush!)
Geometric Heartbeat: Combine geometric shapes with hearts for a modern, edgy look. Use striping tape to create clean lines, or experiment with freehand designs for a more artistic feel. Difficulty: Medium. Key Products/Techniques: Various polishes (contrasting colors), striping tape (optional). (Geometric patterns add a sharp contrast to the classic Valentine’s theme).
Metallic Accent Nail: Elevate a simple neutral manicure with a single metallic accent nail. Choose gold, silver, rose gold, or even a vibrant copper for a touch of luxury. Difficulty: Easy. Key Products/Techniques: Neutral polish, metallic polish. (A single accent nail is a quick and easy way to update your classic style).
Rhinestone Romance: Add a touch of sparkle with strategically placed rhinestones. Cluster them together to create a dazzling effect, or space them out for a more subtle touch of glam. Difficulty: Easy to Medium. Key Products/Techniques: Base coat, top coat, rhinestones, nail glue. (Top off your design with a thin layer of top coat which will help the rhinestones stay in place for longer).
Key Takeaways:
- Pinterest is overflowing with nail art inspiration – don't be afraid to explore!
- Simple designs can be just as stunning as intricate ones.
- Experiment with different colors, textures, and techniques to create a unique look.
- Most importantly: have fun and let your creativity shine!